Nail art doesn’t have to mean airbrushed masterpieces or an hour hunched over each hand. Minimalist designs — a single dot, one clean line, a whisper of gold — are not only easier to pull off at home, they often look more expensive than busy designs. The whole aesthetic is built on restraint, which is great news for anyone whose freehand skills top out at “wobbly.” Here’s a collection of simple, chic ideas you can do with a basic polish stash and a couple of improvised tools, plus the setup tricks that make even the simplest design look intentional.
Build the Minimalist Tool Kit
You need far less than you’d think. A sheer neutral or nude polish, one or two accent colors (black, white, or a metallic covers almost everything), and a good top coat are the backbone. For tools, raid the house: a bobby pin or the ball head of a sewing pin makes a perfect dotting tool, a thin strip of sticky tape becomes a straightedge, and a small eyeliner-style brush cleaned with remover handles fine lines.
The one non-negotiable is the top coat. Minimalist designs live or die on crispness, and a glossy top coat smooths wobbles, melts brush strokes together, and makes a two-minute design look salon-finished. Matte top coats are the other secret weapon — the same simple dot design reads completely different, and somehow more designer, in matte.
Start With Dots — the Foolproof Classic
Dots are the gateway to all nail art because they’re nearly impossible to mess up. Dip your bobby pin in polish, press gently, lift straight up. From that one move you can build a dozen looks:
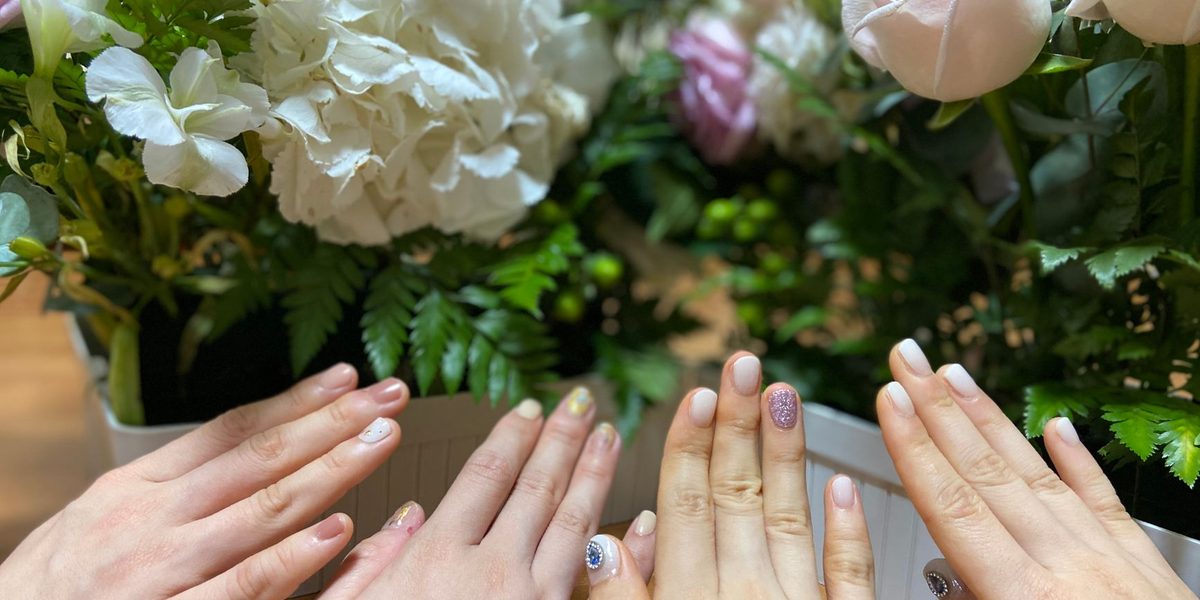
- Single dot: one contrasting dot at the base of each nail on sheer nude — quietly elegant.
- Dot trio: three dots in a vertical line up the center, or a tiny triangle near the cuticle.
- Constellation: a few scattered dots of varying sizes on one accent nail only.
- Gradient dots: a line of dots shrinking in size from cuticle to tip.
Work with barely any polish on the pin — less than feels right — and redip after every one or two dots. If a dot goes rogue, dip a small brush in remover and erase just that spot rather than starting over.
One-Line Wonders
A single line is the minimalist power move. The easiest version is the horizontal micro-stripe: one thin band of color across a bare or nude nail, placed either near the tip or a third of the way up. Paint it freehand with a fine brush for a soft, hand-drawn feel, or press a strip of tape onto the nail (let the base dry fully first) and paint against its edge for laser sharpness, peeling the tape away while the polish is still wet.
Variations are endless: a vertical line down the center of just the ring finger; a diagonal slash across each nail at slightly different angles for a playful set; two parallel pinstripes in black and gold; or an L-shaped corner framing one edge of the nail. Keep lines thin — the thinner the line, the more intentional and high-end it reads.
If freehand lines wobble, work with your hand braced: rest both forearms on the table, anchor the pinky of your painting hand against the finger you’re working on, and pull the brush toward you in one slow stroke rather than pushing it. Loading the brush lightly and committing to a single pass beats going back to touch up — three hesitant strokes always look messier than one imperfect confident one.
Negative Space Is Your Friend
Negative-space designs — where bare nail is part of the pattern — are the heart of minimalist nail art, and they’re wonderfully forgiving because unpainted nail can’t chip. The classic is the floating tip: a band of color across the top third of the nail with everything below left bare or covered in sheer nude. Another favorite is the half-moon, leaving the little crescent at the nail base unpainted, marked out with a hole-punch-reinforcement sticker as a stencil.
You can also try the split nail (one vertical half painted, one bare, divided by a crisp taped line), the outline manicure (a thin frame of color tracing the nail’s edge with the middle left open), or a single bare nail in an otherwise fully painted set — negative space at the scale of the whole hand. These looks grow out gracefully, too, since there’s no stark line at the cuticle.
The Accent Nail Strategy
If painting ten tiny canvases sounds exhausting, paint nine of them plain and pour your effort into one. The accent nail — usually the ring finger — is minimalism’s best trick. Nine nails in a sheer neutral plus one nail with a design instantly looks curated rather than unfinished.
Good accent ideas: a metallic nail among nudes, one nail with three dots, a single glitter nail applied over the same base color, or one negative-space design in an otherwise solid set. The accent approach also makes experimentation cheap — if the design flops, you redo one nail, not ten. It’s the perfect sandbox for trying each idea in this article one week at a time.
Texture and Finish as the Design
Sometimes the art isn’t a shape at all — it’s a finish. Painting all nails the same color but alternating glossy and matte top coats creates a subtle checkerboard effect that people notice up close. A single coat of a shimmer polish over half the nails and not the others plays the same game. Even a “barely there” manicure — buffed nails with just a milky sheer polish — counts as a minimalist look, and it’s the most office-proof, chip-camouflaging style there is.
Tonal sets are another finish-first idea: paint each nail a slightly different shade of the same family, like five soft pinks or five stony neutrals from light to dark across the hand. No tools, no steady hand required, maximum style payoff. If you want a gentle challenge, try the ombré hand version: keep the shades in order from lightest on the thumb to deepest on the pinky so the whole hand reads as one gradient. It photographs beautifully and takes exactly zero artistic skill — just five polishes and the patience to let each nail dry.
Setup and Cleanup Rituals That Elevate Everything
Minimalist designs put your nail prep on display, so give it five extra minutes. Shape nails to one consistent silhouette, push back cuticles gently after a shower, and wipe nails with a little remover before painting so polish grips well. Thin coats — always two thin rather than one thick — dry faster and stay crisp around your design work.
Afterward, dip a small flat brush in remover and sweep around the nail edges to erase any smudges on skin; that cleanup line is honestly half of what makes salon manicures look professional. Then seal everything, design and all, with top coat, wrapping it slightly over the free edge of the nail to slow tip wear. Reapply top coat every two or three days and even a home manicure can carry a week.
Final Thoughts
Minimalist nail art proves that restraint is a style, not a limitation. Start with a dot or one taped line on a single accent nail, build your confidence week by week, and let the top coat do the polishing. Before long you’ll have a mental catalog of five-minute designs — and the quiet satisfaction of answering “where did you get your nails done?” with “my kitchen table.”