That scuffed dresser in the garage, the wobbly chair from a relative's attic, the dated coffee table you almost left at the curb — every one of them is a statement piece waiting for a second chance. Upcycling furniture is equal parts thrift, craft, and creative rebellion, and it rewards you with one-of-a-kind pieces no showroom can match. You do not need a workshop full of tools or years of experience, either. With a little prep work and a bold idea, weekend furniture flips are within anyone's reach. Here are the ideas and techniques that turn forgotten furniture into the first thing guests ask about.
Learn to See Potential, Not Problems
The first skill of a good upcycler is vision. Train yourself to look past grimy finishes, dated hardware, and questionable upholstery to the bones beneath. Solid wood construction, dovetailed drawers, interesting legs, and graceful curves are the features that matter; everything else can change. Water rings, chipped veneer, and scratches are cosmetic issues with well-known fixes, not reasons to walk away.
Estate sales, thrift shops, online marketplaces, and curb-side finds are all fair hunting grounds. Give any candidate a quick health check: rock it for stability, slide the drawers, and sniff for mustiness, which usually airs out but occasionally lingers. A piece that is structurally sound but ugly is the perfect project; a piece that is beautiful but broken is a project for another day, unless you enjoy repairs as much as makeovers.
Prep Like a Pro So the Finish Lasts
Every upcycling failure story starts the same way: someone skipped the prep. Paint peeling off a slick surface or stain blotching over old polish comes down to preparation, so give it the time it deserves. Clean the piece thoroughly with a degreasing cleaner, then remove hardware and drawers. Fill dents and chips with wood filler, and sand everything with medium then fine grit paper — not necessarily to bare wood, just enough to dull the old finish so the new one can grip.
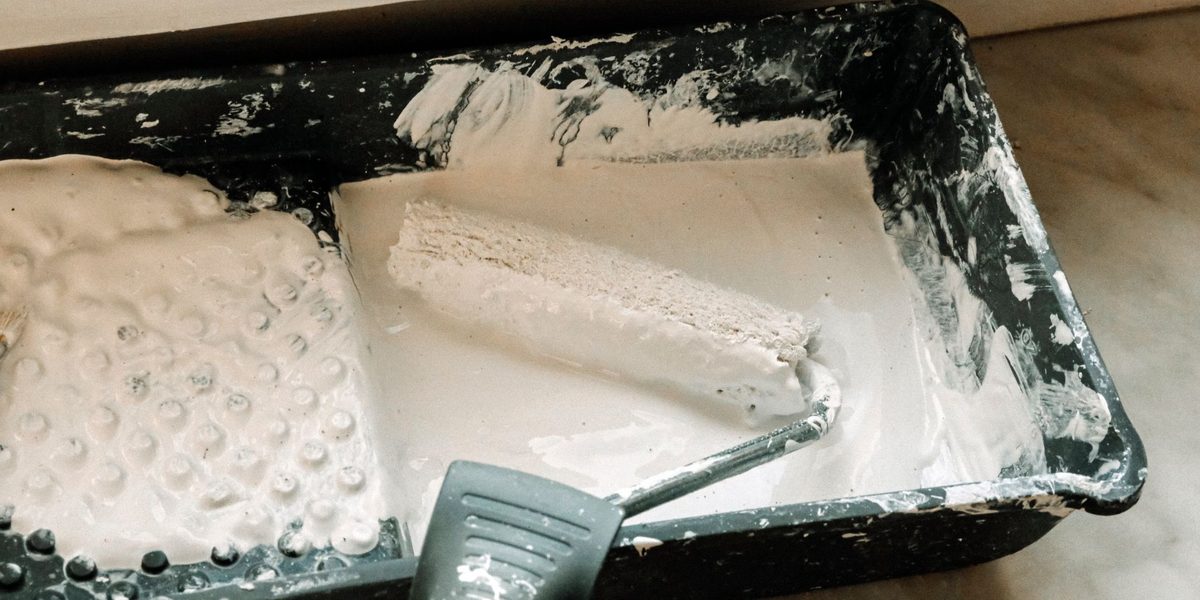
Wipe away every trace of dust with a tack cloth, then prime. A stain-blocking primer is cheap insurance against old wood tannins bleeding yellow through your fresh white paint. If the piece has a glossy laminate surface, use a bonding primer made for slick materials. This unglamorous hour of work is what separates a flip that lasts a decade from one that chips within a month.
Make Paint the Star of the Show
Paint is the upcycler's most powerful tool, and the color choice sets the piece's whole personality. A somber dresser becomes playful in glossy coral; a plain nightstand turns sophisticated in matte charcoal. Deep greens, inky blues, and warm ochres are reliably striking on vintage silhouettes, and a high-gloss finish on a curvy piece delivers genuine showstopper energy.
Technique creates as much interest as color. Try a two-tone treatment with the body in one shade and drawers in another, or paint just the legs for a dipped effect. Color-drenching — painting the entire piece, hardware and all, in one saturated hue — reads bold and modern. For a softer, time-worn look, chalk-style paint distressed lightly at the edges shows hints of wood beneath. Always finish painted pieces with a clear topcoat, such as water-based polyurethane or furniture wax, so daily life cannot undo your work.
Swap the Details That Date a Piece
Sometimes a piece needs surgery no bigger than new jewelry. Hardware is the fastest personality change available: swapping dated brassy pulls for matte black, aged bronze, leather straps, or sculptural ceramic knobs instantly re-styles a dresser or cabinet. Measure the distance between screw holes before shopping so new pulls fit the existing drilling.
- Replace a broken or dated tabletop with a new stained wood plank top
- Line drawer interiors with wallpaper remnants for a hidden delight
- Add new tapered or hairpin-style legs to lift a slumping silhouette
- Apply peel-and-stick paper or beadboard panels to cabinet backs and sides
- Reupholster a drop-in chair seat with fresh fabric and a staple gun
Each of these swaps takes an hour or less, and combining two or three of them can transform a piece as dramatically as a full repaint.
Texture upgrades deserve a look as well. Wrapping drawer fronts in cane webbing, gluing slim wood half-round trim in a fluted pattern across a cabinet door, or facing a plain headboard with rattan all add the kind of dimensional detail that reads as high-end. These materials are inexpensive by the roll or the strip, cut easily with basic hand tools, and adhere with wood glue and patience. One textured element against smooth painted surfaces is usually enough to elevate the entire piece.
Give Furniture a Whole New Job
The boldest upcycling ideas change what a piece is, not just how it looks. A dresser missing its drawers becomes open shelving for a mudroom, or, with the top drawers removed, a bathroom vanity awaiting a vessel sink. An old wooden door turns into a headboard or a farmhouse-style table. Sturdy suitcases stack into a quirky side table, and a piano bench finds new life as an entryway seat with storage.
Think about what your home actually needs, then audition your orphaned furniture for the role. A bar cart can become a plant stand or coffee station; a filing cabinet, painted and topped with a wood slab, becomes a compact potting bench. Repurposing keeps the character of the original while making it useful again, which is the entire spirit of upcycling in a single move.
Scale your ambitions to your skills at first, then stretch. Removing drawers, adding shelves, and swapping tops are beginner-friendly conversions; cutting a piece down or reworking its frame calls for a saw, clamps, and a bit more confidence. Sketch the end result before you start, measure twice, and remember that any cut is permanent while paint never is. A conversion that keeps the original piece mostly intact leaves you room to change your mind later.
Style Your Statement Piece to Shine
Once the transformation is complete, placement decides how much attention it earns. Give a bold piece breathing room and a supporting cast: a vivid green sideboard sings against a neutral wall, styled simply with a lamp, a stack of books, and one tall vase. Repeat the piece's color once or twice elsewhere in the room — a pillow, a print, a throw — so it feels connected rather than random.
Resist the urge to upcycle everything in one room into a statement. One or two heroes per space is plenty; the rest of the furniture should play quietly around them. That contrast between the bold and the calm is exactly what makes a flipped piece look like a designer choice instead of a craft experiment.
Lighting seals the deal. Aim a small picture light, a nearby lamp, or a well-placed ceiling spot at your finished piece so its color and texture read clearly even in the evening. Glossy finishes in particular come alive under warm light, and a statement piece that glows at night earns its keep around the clock.
Final Thoughts
Upcycling furniture is one of the most satisfying projects in all of home decorating: it saves money, keeps good pieces out of landfills, and fills your home with stories no catalog can offer. Start small with a thrifted stool or a single nightstand, learn the rhythm of clean, sand, prime, paint, and protect, and then work up to the dresser of your dreams. Every statement piece in your future is already sitting somewhere, dusty and overlooked, waiting for you to see what it could become.